|
Custom shifter install
This page outlines the various steps to installing a custom shifter
Have you ever wanted a nice leather wrapped shifter like those used in high-end luxury cars or perhaps a performance shifter matching the colour of your ride, then this short column is for you. In the case below the shifter was a MOMO with the accompanying performance leather boot. However, any similar shifter would be installed in the same manner.
|
|
|
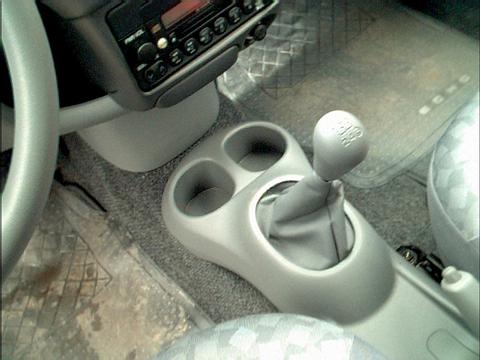
Original Shifter
This is the original shifter that comes with a manual ECHO
|
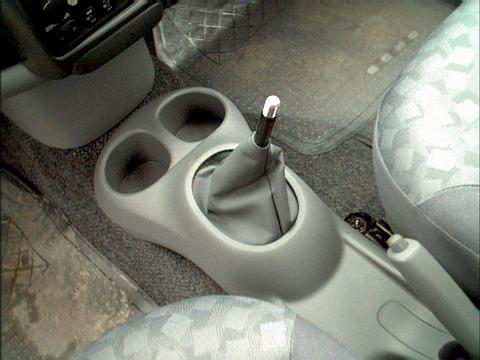
Removal of shifter knob
The first step is to remove the existing shifter knob. In the majority of cases this is simply done by unscrewing (counterclockwise) the knob and removing it from the stickshift.
|
|
|
|
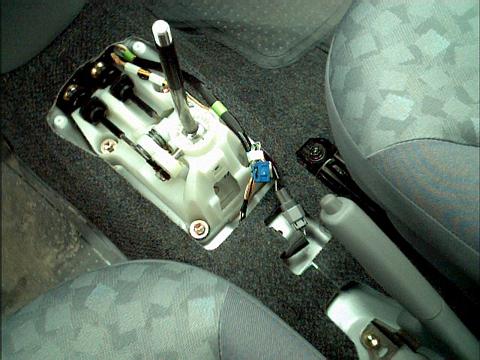
Removal of the center shifter console
This is different on different cars, however usually there are retaining screws or clips holding the center console in place. Some consoles also have a trim around the base of the shifter boot, which is the material covering the stickshift under the shifter knob. In the case of the ECHO the one mounting screw holding the console is located under the felt liner in the rear cup holder. Once removed there are two clips on the front section of the console just below the front cup holders. Simply wiggle the console while pulling up and the whole console can then be removed. |
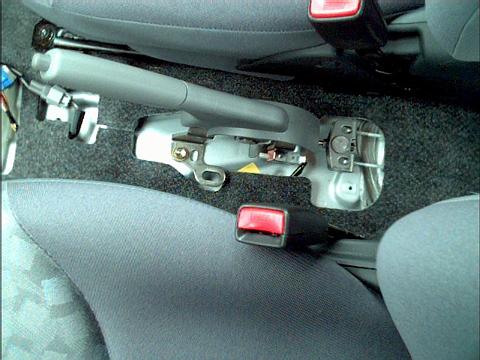
Handbrake assembly detail
Since this isn't something one would normally see I have taken the liberty of photographing the handbrake assembly details. This might be good if you have the idea of changing the handbrake handle or covering it with a performance handle.
|
|
|
|
More pics to come soon
|
|
|
|
|
|
|
|
|
|
|
|
|
|